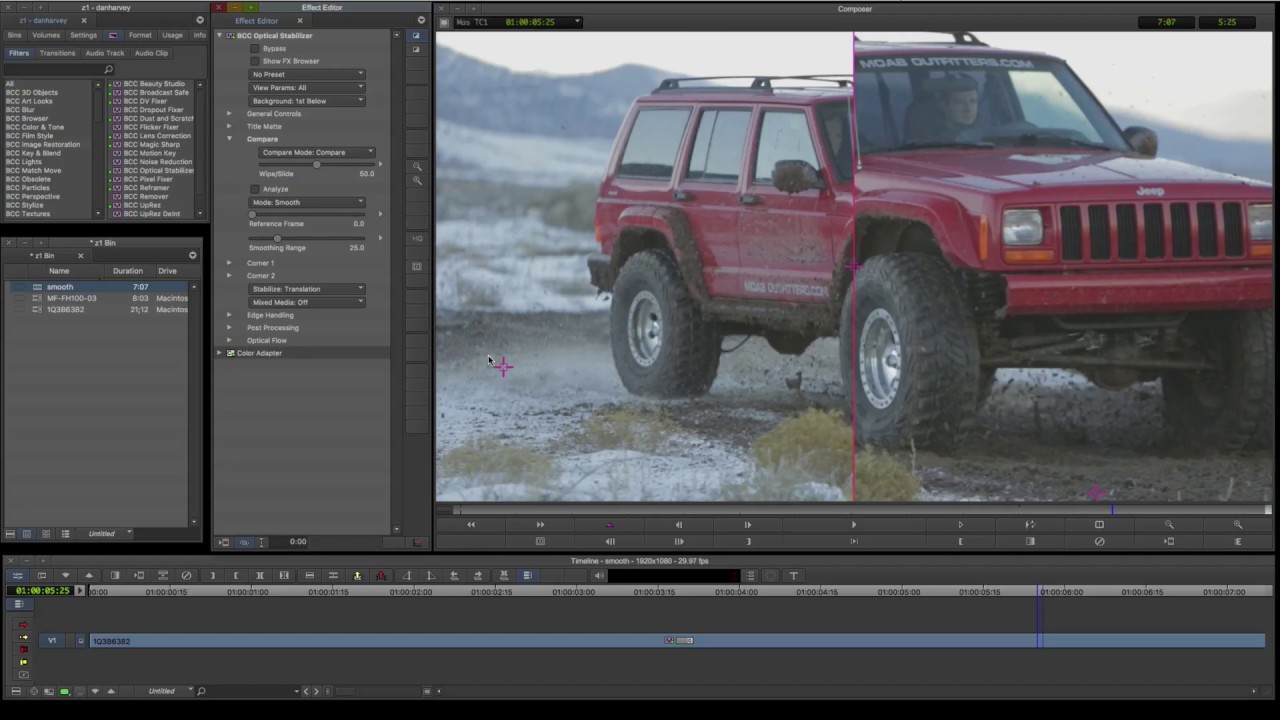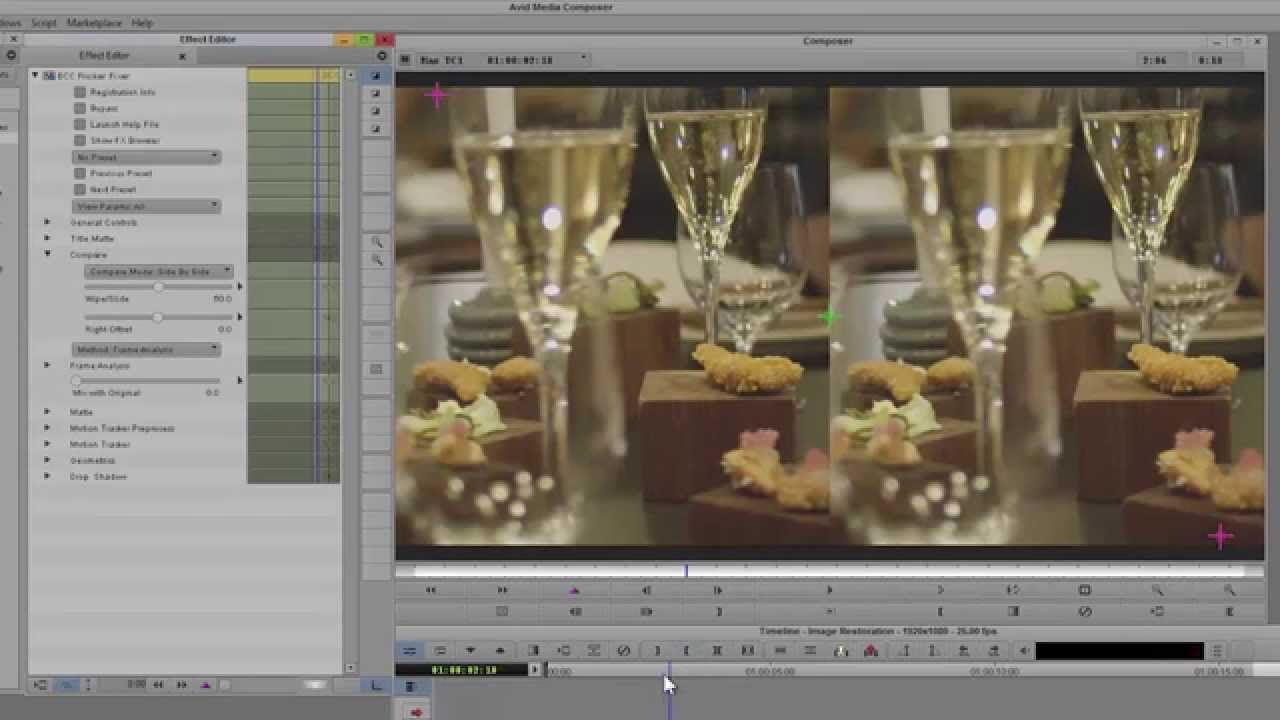
This handy feature enables you to view the filtered result beside the unfiltered source shot without having to toggle the filter on and off and is a convenient way to fine tune the filter. Choose from 3 modes: side-by-side, split wipe bar or compare the result to a separate source clip in the view pane.
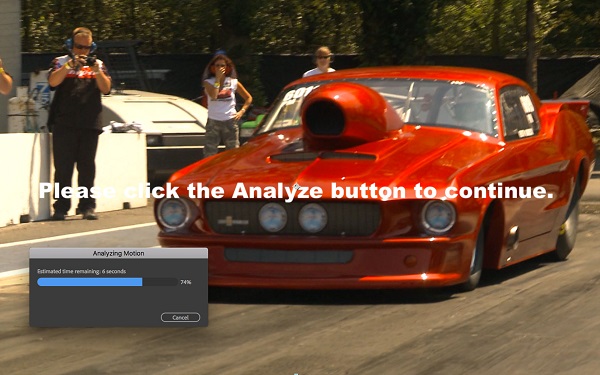
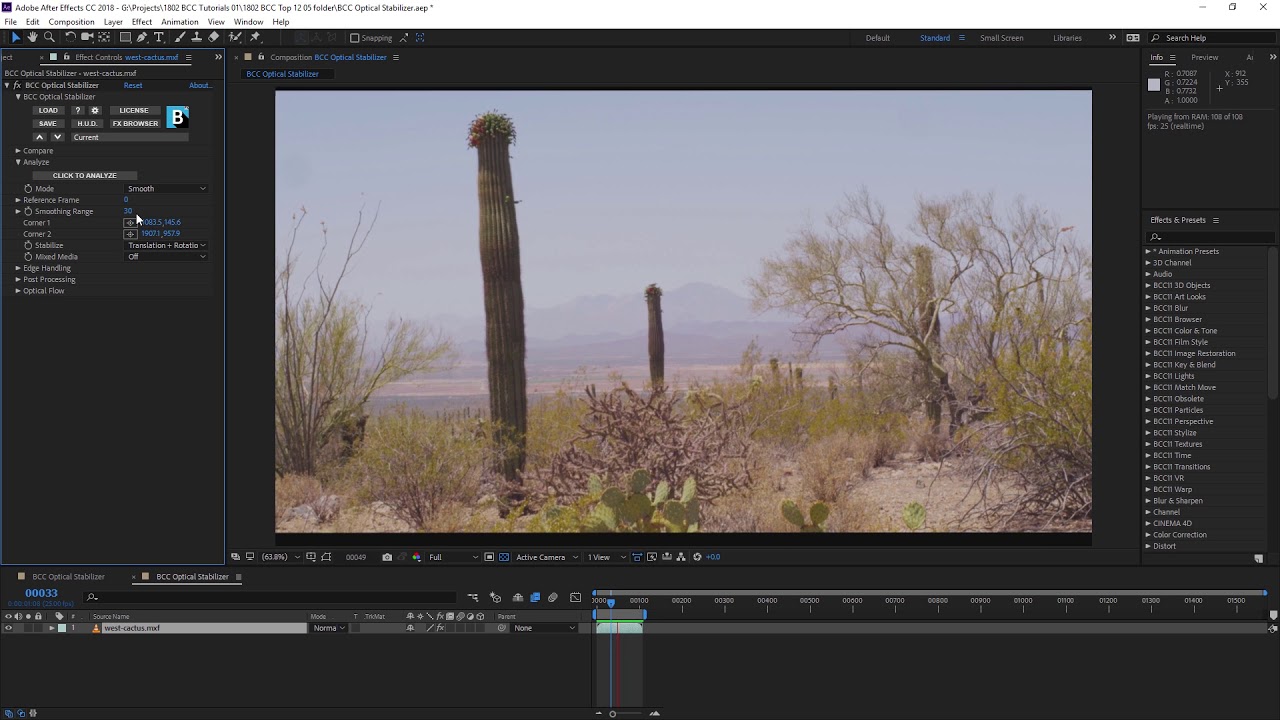
Auto-analyze your source clip with just one click. Optical flow image analysis tracks all the pixels in an image frame-by-frame (under the hood), allowing you to avoid defining points in your image, motion tracking, and keyframing. The result? Your shot is automatically stabilized.
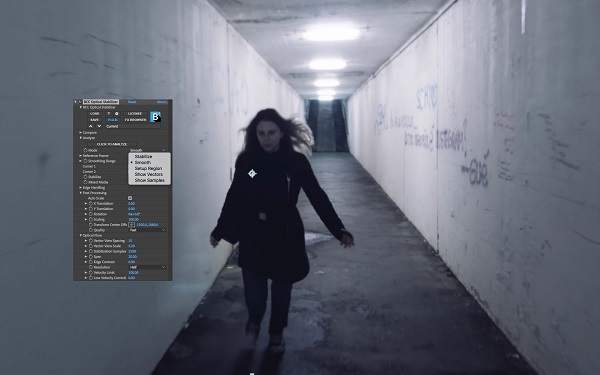
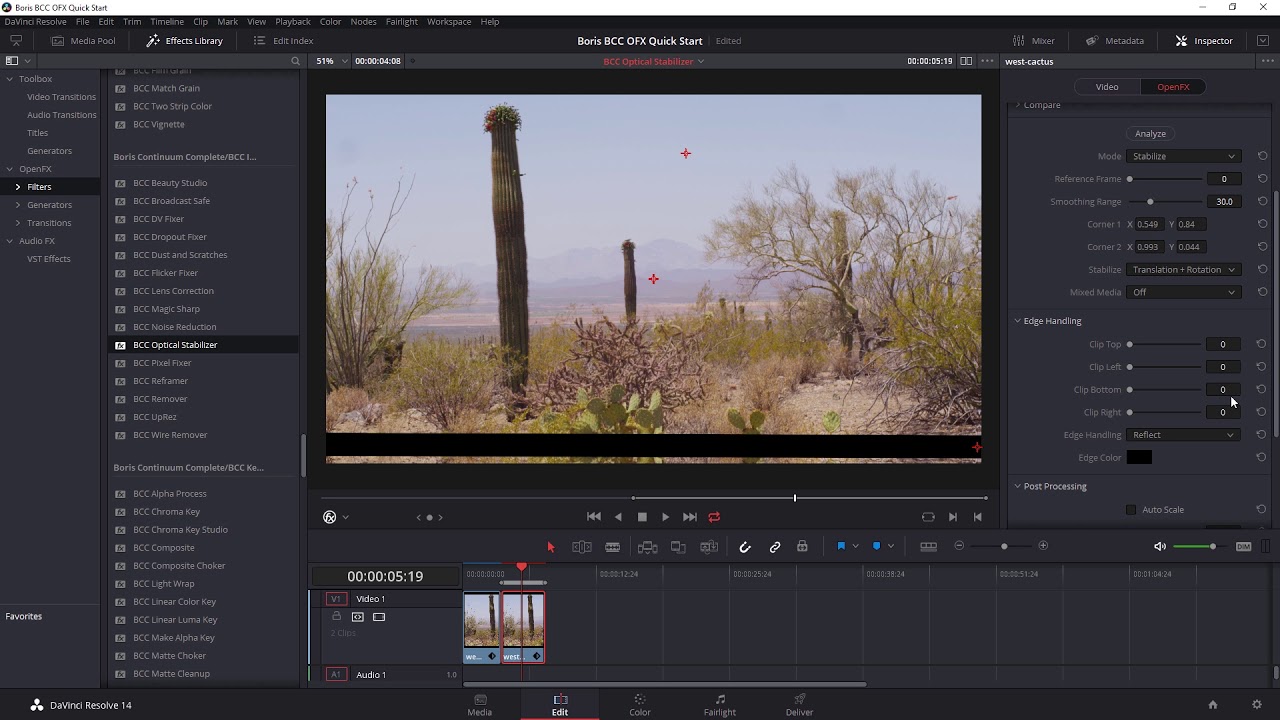
There are several modes in Optical Stabilizer. Set-up Region bases stabilization around a user-defined portion of a shot. Stabilize Mode produces a total camera lock-down. Smooth Mode reduces camera movement. There’s also an option to see what pixels in the image are being used by the optical flow algorithm, the direction, and the amount by which pixels are moving in the scene.

You can choose to stabilize various movements within the clip after it’s been analyzed. Eliminate movement along the X and Y axis with Translation, stabilize rotation, and zoom — all within the pop-up menu. Any changes you make to these options won’t affect the image analysis, making it easy to see what setting works best.

When you need total camera lockdown on a shot, you might want to single out a specific frame to stabilize the shot around. The reference frame parameter does just that, making it extra useful for those times you need to keep a person or element in place.
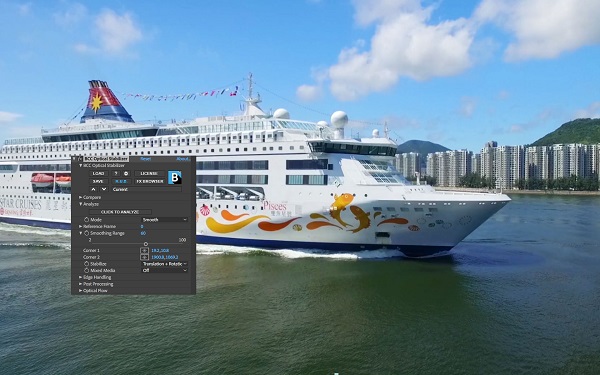
If your video is shaky and you want to keep some camera movement, but not that much, simply select a frame range. The frame range is used to calculate smoothing levels. Choose a shorter frame range to remove less camera movement or go longer to produce a smoother result.
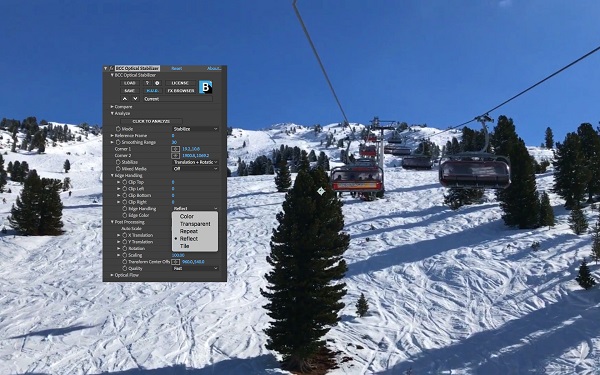
Sometimes you might not be able to use transform scaling on a shot, but you still need to stabilize jitter. Edge handling gives you options including repeat, reflect, and tile to fill the comp with already existing image pixels or simply fill the transparent areas with solid colors.
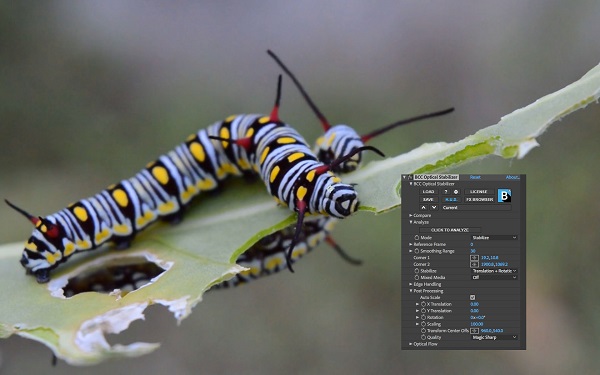
Eliminating movement in a shot may result in a clip that doesn’t fill your entire comp. Optical Stabilizer adjusts itself and auto-scales the image (or you can set an X/Y position point in the frame to base auto-scaling around) to compensate for the transparent region left around a clip. Continuum’s renowned Magic Sharp algorithm is also included in post processing to help you bring back any loss of detail that may occur. If you’d rather manually keyframe translation, rotation, and scale, easily disable the feature altogether.
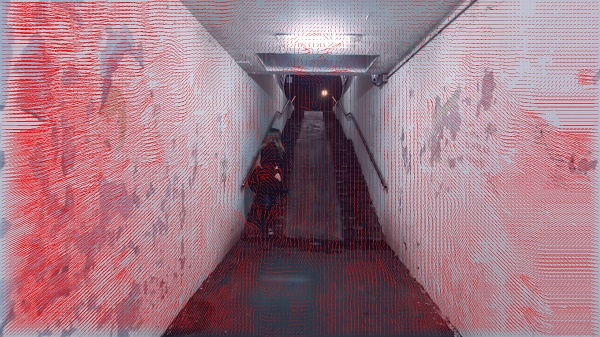
Optical Stabilizer uses powerful optical flow algorithms that automatically trace the movement of pixels over time. The data tells the plug-in what movement to stabilize within the shot. You’ll rarely need to make adjustment to the default optical flow parameters, but if you’re facing an extremely tricky shot, the optical flow parameters are exposed and can be manually adjusted to help produce the desired result.
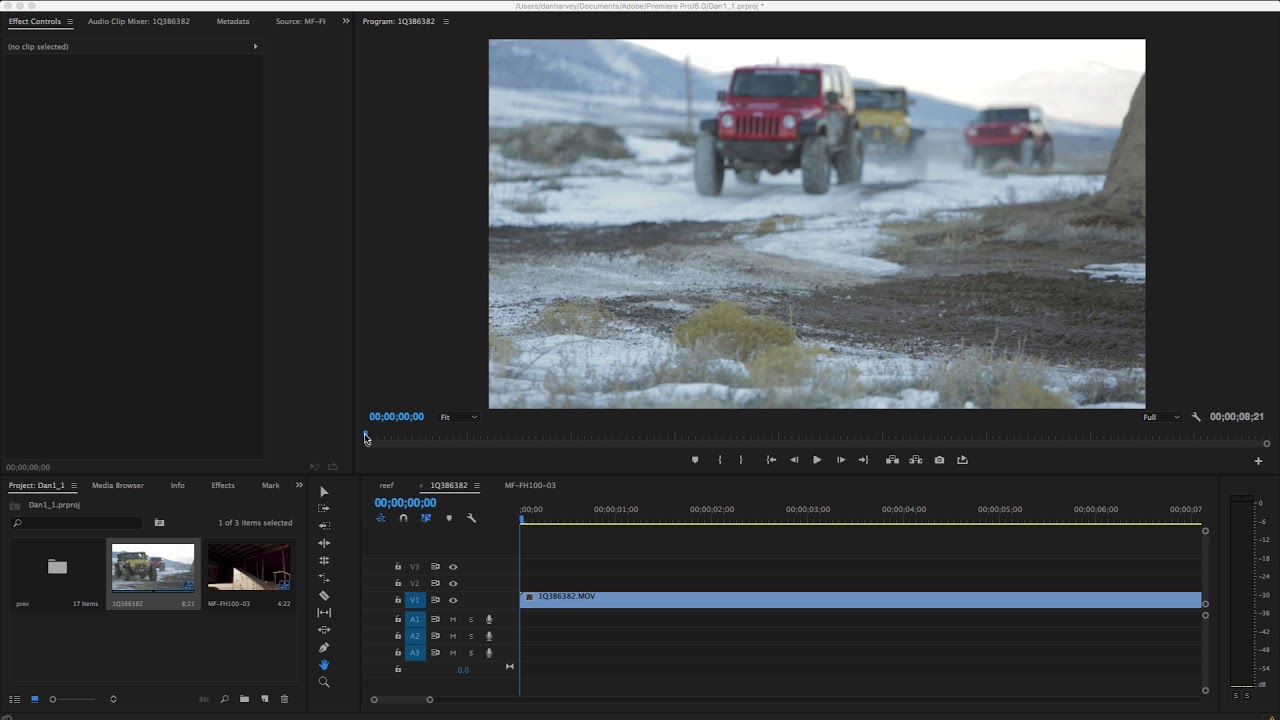
The Continuum Optical Stabilizer filter offers multi-host support with a single license.