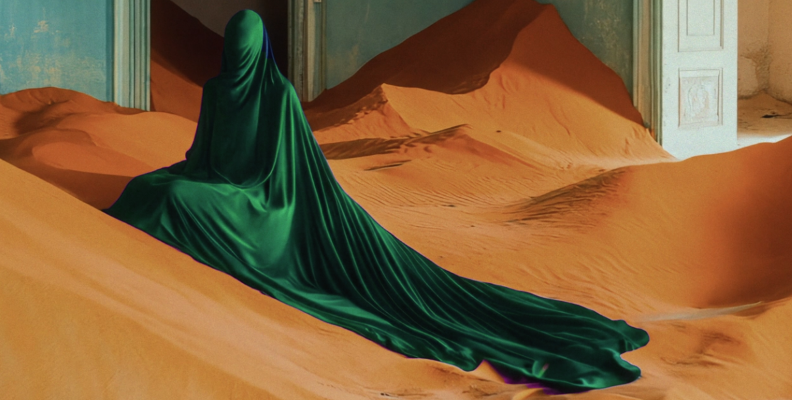
There are times during a shooting session when you realize that the model is wearing clothes that don’t match the color scheme you're looking for.
Perhaps you discover that an object’s hue clashes with the overall atmosphere you’re trying to create, or you simply want to make a particular element pop by altering its color using Adobe Photoshop. Whatever the reason, rest assured that you can easily adapt and enhance your visuals even during post-production.
Today, you’ll learn how to change color in Photoshop and with Ozone, a filter from Boris FX Optics.
Let’s get into it!
4 Ways to Replace Colors in Photoshop Using Built-in Tools
Here are four easy methods to replace colors in Photoshop.
Method 1: Hue/Saturation Adjustment Layer
Use the Hue/Saturation adjustment layer on selected objects to replace the color of specific objects or portions of the image.
Import your Image into Photoshop.
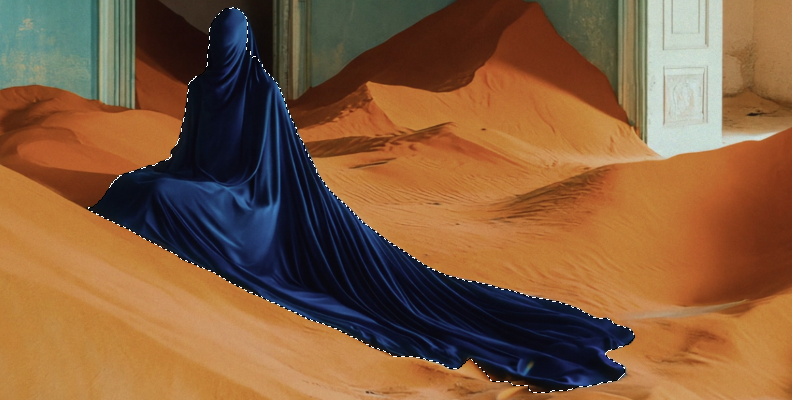
Select the Quick Selection tool to create a layer mask of the object or area where you want to change colors. The layer mask will allow you to affect only the object and not the entire image.

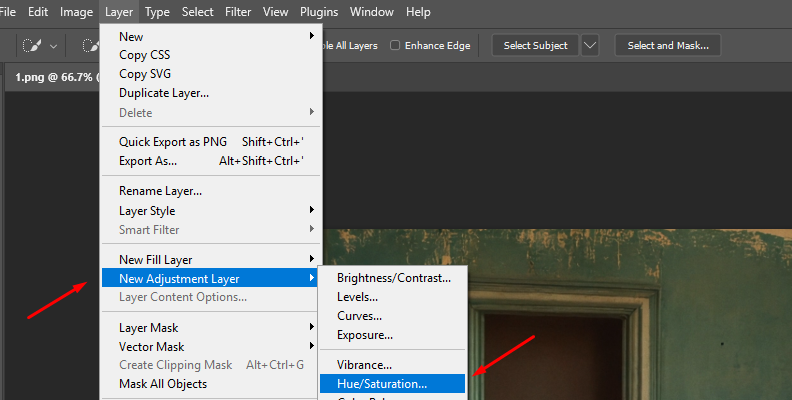
Add a new Hue/Saturation adjustment layer. Go to Layer > New Adjustment Layer > Hue Saturation, or click the adjustment layer icon and select Hue/Saturation from the adjustments panel. The new adjustment layer will import the layer mask from the preview step, so the changes will only affect the selected object.
Go to the properties panel. Use the eyedropper tool to select the replacement color or select it from the Master dropdown menu.

Adjust the Hue, Lightness, and Saturation sliders to get the replacement color.
To fine-tune, right-click on your adjustment layer and select edit adjustments. If you want to change other objects to different colors, add a new adjustment layer and create a new layer mask, repeating the process.
Method 2: Replace Color Dialog
The Replace Color tool in Adobe Photoshop is a destructive tool. To protect your source image, first duplicate your layer.
Right-click the layer and click Duplicate. To isolate an object or area of the image and replace color, make a mask using any of the selection tools available.
Go to the menu Image > Adjustments > Replace Color to launch the Replace Color Dialog.
Use the eyedropper tool and select the color sample to replace.
Use the hue, saturation, and lightness sliders. They work similarly to the Hue/Saturation adjustment layer.
When you’ve reached the desired outcome, press OK.
Method 3: Color Replacement Tool
This method is under the brush tools. You'll manually paint over the image while keeping the details.
Duplicate the background layer to avoid modifying the original.
Hold the brush tool to see the other option and select the color replacement tool.
On the top toolbar, change the Mode to Color.
Click the foreground color picker and choose the target color.
Adjust the brush size in the toolbar and use the brush to paint over the color you want to replace with the target color. The color replacement will only be applied under the crosshair.
Method 4: Blending Modes
With this last method, you’ll use the brush tool in combination with the hue blending mode. Blending modes like Hue allow you to change color without affecting the texture, unlike solid color layers, which can completely replace details.
Import your image and duplicate the background layer.
In the layers panel, change the blend mode to Hue.
Select the brush tool, pick the foreground color, and paint over the object to replace the color.
How to Replace One Color with Another using Optics' Ozone
This last method will use Boris FX Optics, a creative software and plug-in for Adobe Photoshop and Lightroom. Optics features hundreds of filters for photographers and digital artists.
For this tutorial, I’ll show you how to use Optics' Ozone filter to replace colors in Photoshop. Ozone is a filter that allows you to manipulate colors. It is based on Ansel Adams's zone system, and the digital zones are created by dividing the spectrum of image values into 11 zones based on luminance, hue, saturation, red, green, blue, cyan, and magenta.
Ozone provides a lot of customization, allowing you to adjust each color value of each zone independently to change colors in your image with more accuracy.
Step 1: Launch Optics
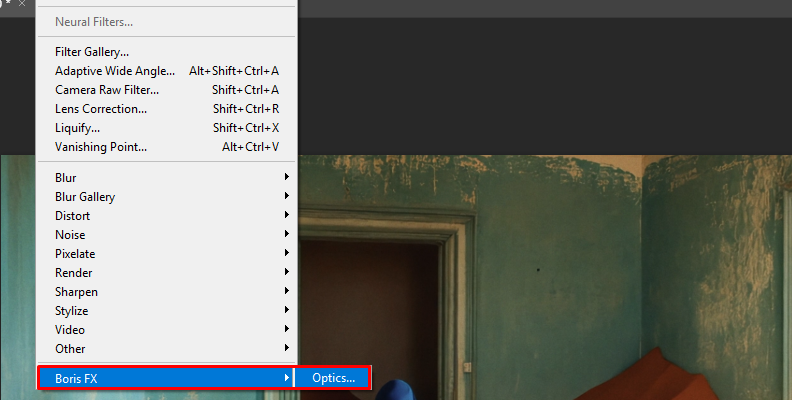
Once you import your image in Photoshop, right-click the layer and click Convert to Smart Object. This will allow you to go to Optics and make more changes. Next, you need to apply Optics as a filter for your layer. Go to Filter > Boris FX > Optics and wait for the Optics user interface to launch.
Step 2: Create a Mask
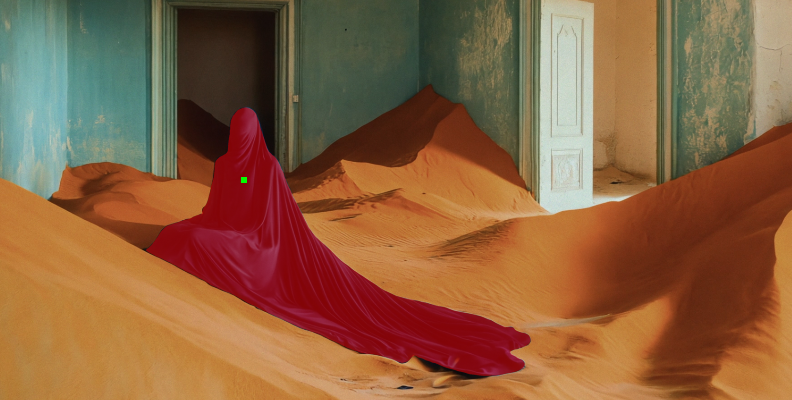
Once in Optics, you’ll have the image imported into the project. Let’s start by creating a mask for the object whose color you want to change. Click the Add Mask icon above the layers panel on the left, select a type of mask, and choose the object to replace the color.
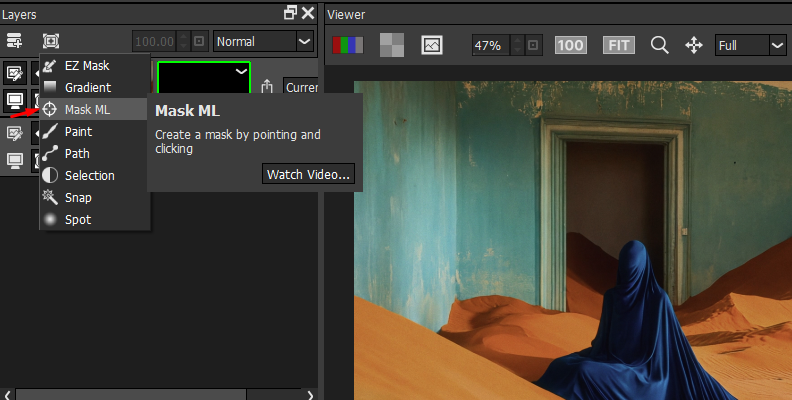
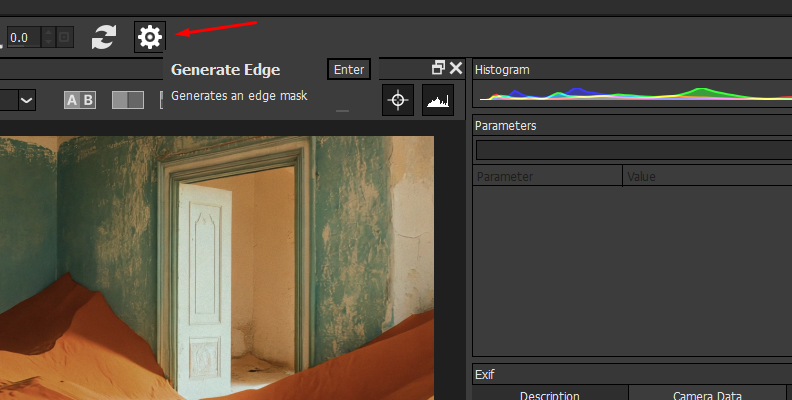
Mask ML is the newest addition to Optics. It uses machine learning AI models to identify and select objects for the layer mask automatically. Simply click the object or areas where you want to replace colors, then click the engine icon on the top toolbar to generate the mask.
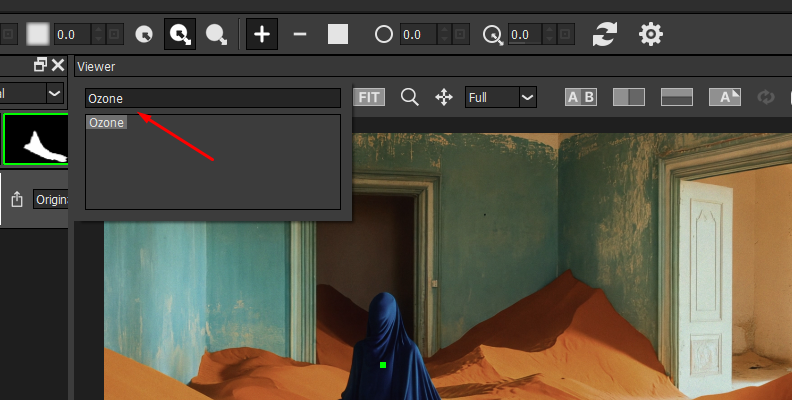
Step 3: Apply the Ozone Filter
All the filters are in the panel below the preview window. Select the Color category to find the Ozone filter, and click on it to apply it to the current layer.
Step 4: Ozone Settings
The right panel contains all the filter’s parameters. From there, you can select between the 11 zones to adjust colors.
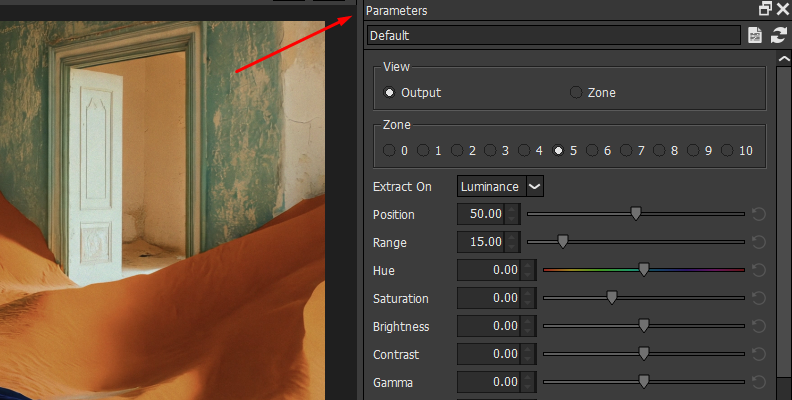
The Extractor dropdown menu allows you to select how to create the zones. You can choose Luminance, Hue, Saturation, Average, Red, Green, Blue, Cyan, Magenta, and Yellow image values.
Use the Position and Range parameters to determine the color/range values for the selected zone, which will allow you to target localized color clusters with precision. Then, use the Hue, Saturation, and Brightness settings to change the zone's colors, intensity, and brightness. Play with the rest of the parameters until you fully replace the original color with the new one and get the desired results.
At the bottom of the parameter panel, you can preview the generated matte to see which parts of the image are being modified.
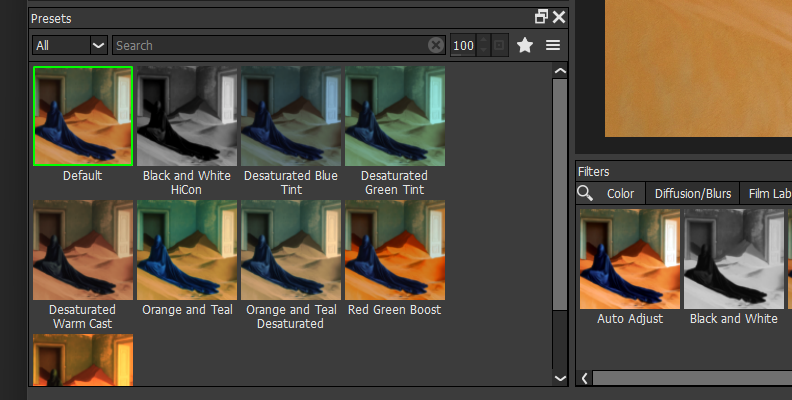
You can also use the presets if you find them applicable to your content type.
Step 5: Apply Changes
When you finish replacing the color, click Apply at the bottom right corner to close Optics and return to Photoshop. You can now export the edited photo as usual.
Final Words
Adobe Photoshop is excellent software for manipulating and editing your photos. With Optics, you can enhance the already useful tools, features, and filters to elevate your skills. Use it as a filter within Photoshop and Lightroom or as a standalone application. Combine Ozone with more filters and utilize the user-friendly masking tools to select the parts of the image where you want to apply filters.
Start your experience with Optics free trial!